Indulging in at-home facials can be a delightful way to pamper yourself while giving your skin the care it deserves. With a few simple steps, you can transform your skincare routine into a spa-like experience. In this blog post, we’ll guide you through the process of a DIY facial, share some additional tips, and highlight common mistakes to avoid for a successful and satisfying skincare session.

At-Home Facials: DIY Facial in 8 Easy Steps
- Cleanse: Begin by cleansing your face with a gentle cleanser, removing impurities, makeup, and excess oil.
- Exfoliate: Use a mild scrub or mask to gently exfoliate, revealing smoother and brighter skin. Avoid harsh rubbing and the sensitive eye area.
- Steam: Create a steam treatment by pouring hot water into a bowl. Lean over the bowl, covering your head with a towel to trap the steam, which opens up your pores for easier impurity removal.
- Mask: Choose a suitable face mask for your skin type and apply it generously. Allow it to sit for the recommended time, then rinse with warm water.
- Tone: Apply a toner to your skin using a cotton pad, removing any remaining dirt and impurities while balancing your skin’s pH levels.
- Treat: If you have specific skin concerns, such as acne or dark spots, apply a targeted treatment product to address these issues.
- Moisturize: Hydrate your skin with a nourishing moisturizer, promoting a healthy and radiant complexion.
- Protect: Always remember to apply sunscreen as the final step, safeguarding your skin from harmful UV rays, even if you’re staying indoors.
Customize the experience by incorporating facial massage techniques or trying out a sheet mask for added relaxation and skincare benefits. The key is to enjoy the process and take some time to care for yourself.
What Not to Do During Your DIY Facial
While DIY facials can be a fantastic self-care ritual, there are certain at-home facials and pitfalls to avoid ensuring the best results and prevent any potential harm to your skin. Here’s what not to do during your DIY facial:
- Don’t use hot water: Steaming your face can be beneficial, but avoid using excessively hot water, as it can damage your skin and cause irritation. Stick to warm water for safety.
- Don’t be too rough: Be gentle when applying skincare products and avoid scrubbing too hard. Overly aggressive scrubbing can lead to redness and irritation.
- Avoid unsuitable products: Choose skincare products that match your skin type and concerns. Using products not suitable for your skin can lead to adverse reactions and worsen the condition.
- Always patch test: Before introducing a new product, perform a patch test on a small area of skin to check for allergic reactions.
- Avoid expired products: Check the expiration dates of your skincare products to ensure their efficacy and avoid potential irritations.
- Resist the urge to pick: Refrain from picking at pimples or blackheads during your facial, as it can cause further irritation and even lead to scarring.
- Never skip sunscreen: Regardless of indoor activities, always apply sunscreen to protect your skin from harmful UV rays.
By being mindful of these common mistakes, you can elevate your DIY facial experience, leaving your skin feeling refreshed, rejuvenated, and pampered like a true skincare pro. Treat yourself to the luxury of an at-home facial and savor the rewards of a radiant and healthy complexion.
Also read: HIFU vs. Other Non-Surgical Skin Tightening Treatments: Which One Is Right for You?
In a world where self-care has taken center stage, at-home facials have become a popular ritual for those seeking radiant, healthy skin without the spa price tag. While professional facials undoubtedly offer unique benefits, there’s a lot you can achieve in the comfort of your own home. In this blog post, we’ll unveil the secrets of at-home facials, helping you master the art of self-pampering and skincare.
The Basics: Preparing for Your At-Home Facial
Before diving into the step-by-step process of an at-home facial, it’s essential to gather the right tools and products. Here’s what you’ll need:
- Cleanser: Start with a gentle cleanser to remove makeup, dirt, and impurities from your skin.
- Exfoliator: Choose an exfoliating product suitable for your skin type, whether it’s a scrub, enzyme mask, or chemical exfoliant.
- Steam: You can use a facial steamer, a bowl of hot water, or a warm, damp washcloth to open up your pores.
- Mask: Select a mask that addresses your specific skincare concerns, such as hydrating, detoxifying, or brightening.
- Serum: Opt for a serum containing active ingredients like vitamin C or hyaluronic acid for an added boost.
- Moisturizer: Finish your facial with a hydrating moisturizer suitable for your skin type.
- Optional Tools: Consider including tools like a facial brush, jade roller, or gua sha tool for added relaxation and skin benefits.
Step 1: Cleanse
Begin your at-home facial by thoroughly cleansing your face to remove any makeup, dirt, and oil. Gently massage the cleanser onto your skin in upward circular motions, then rinse with lukewarm water.
Step 2: Exfoliate
Exfoliation is a crucial step to remove dead skin cells and reveal fresh, glowing skin. Apply your chosen exfoliating product according to the instructions, being careful not to over-exfoliate, especially if you have sensitive skin. Rinse off the exfoliant, and pat your face dry.
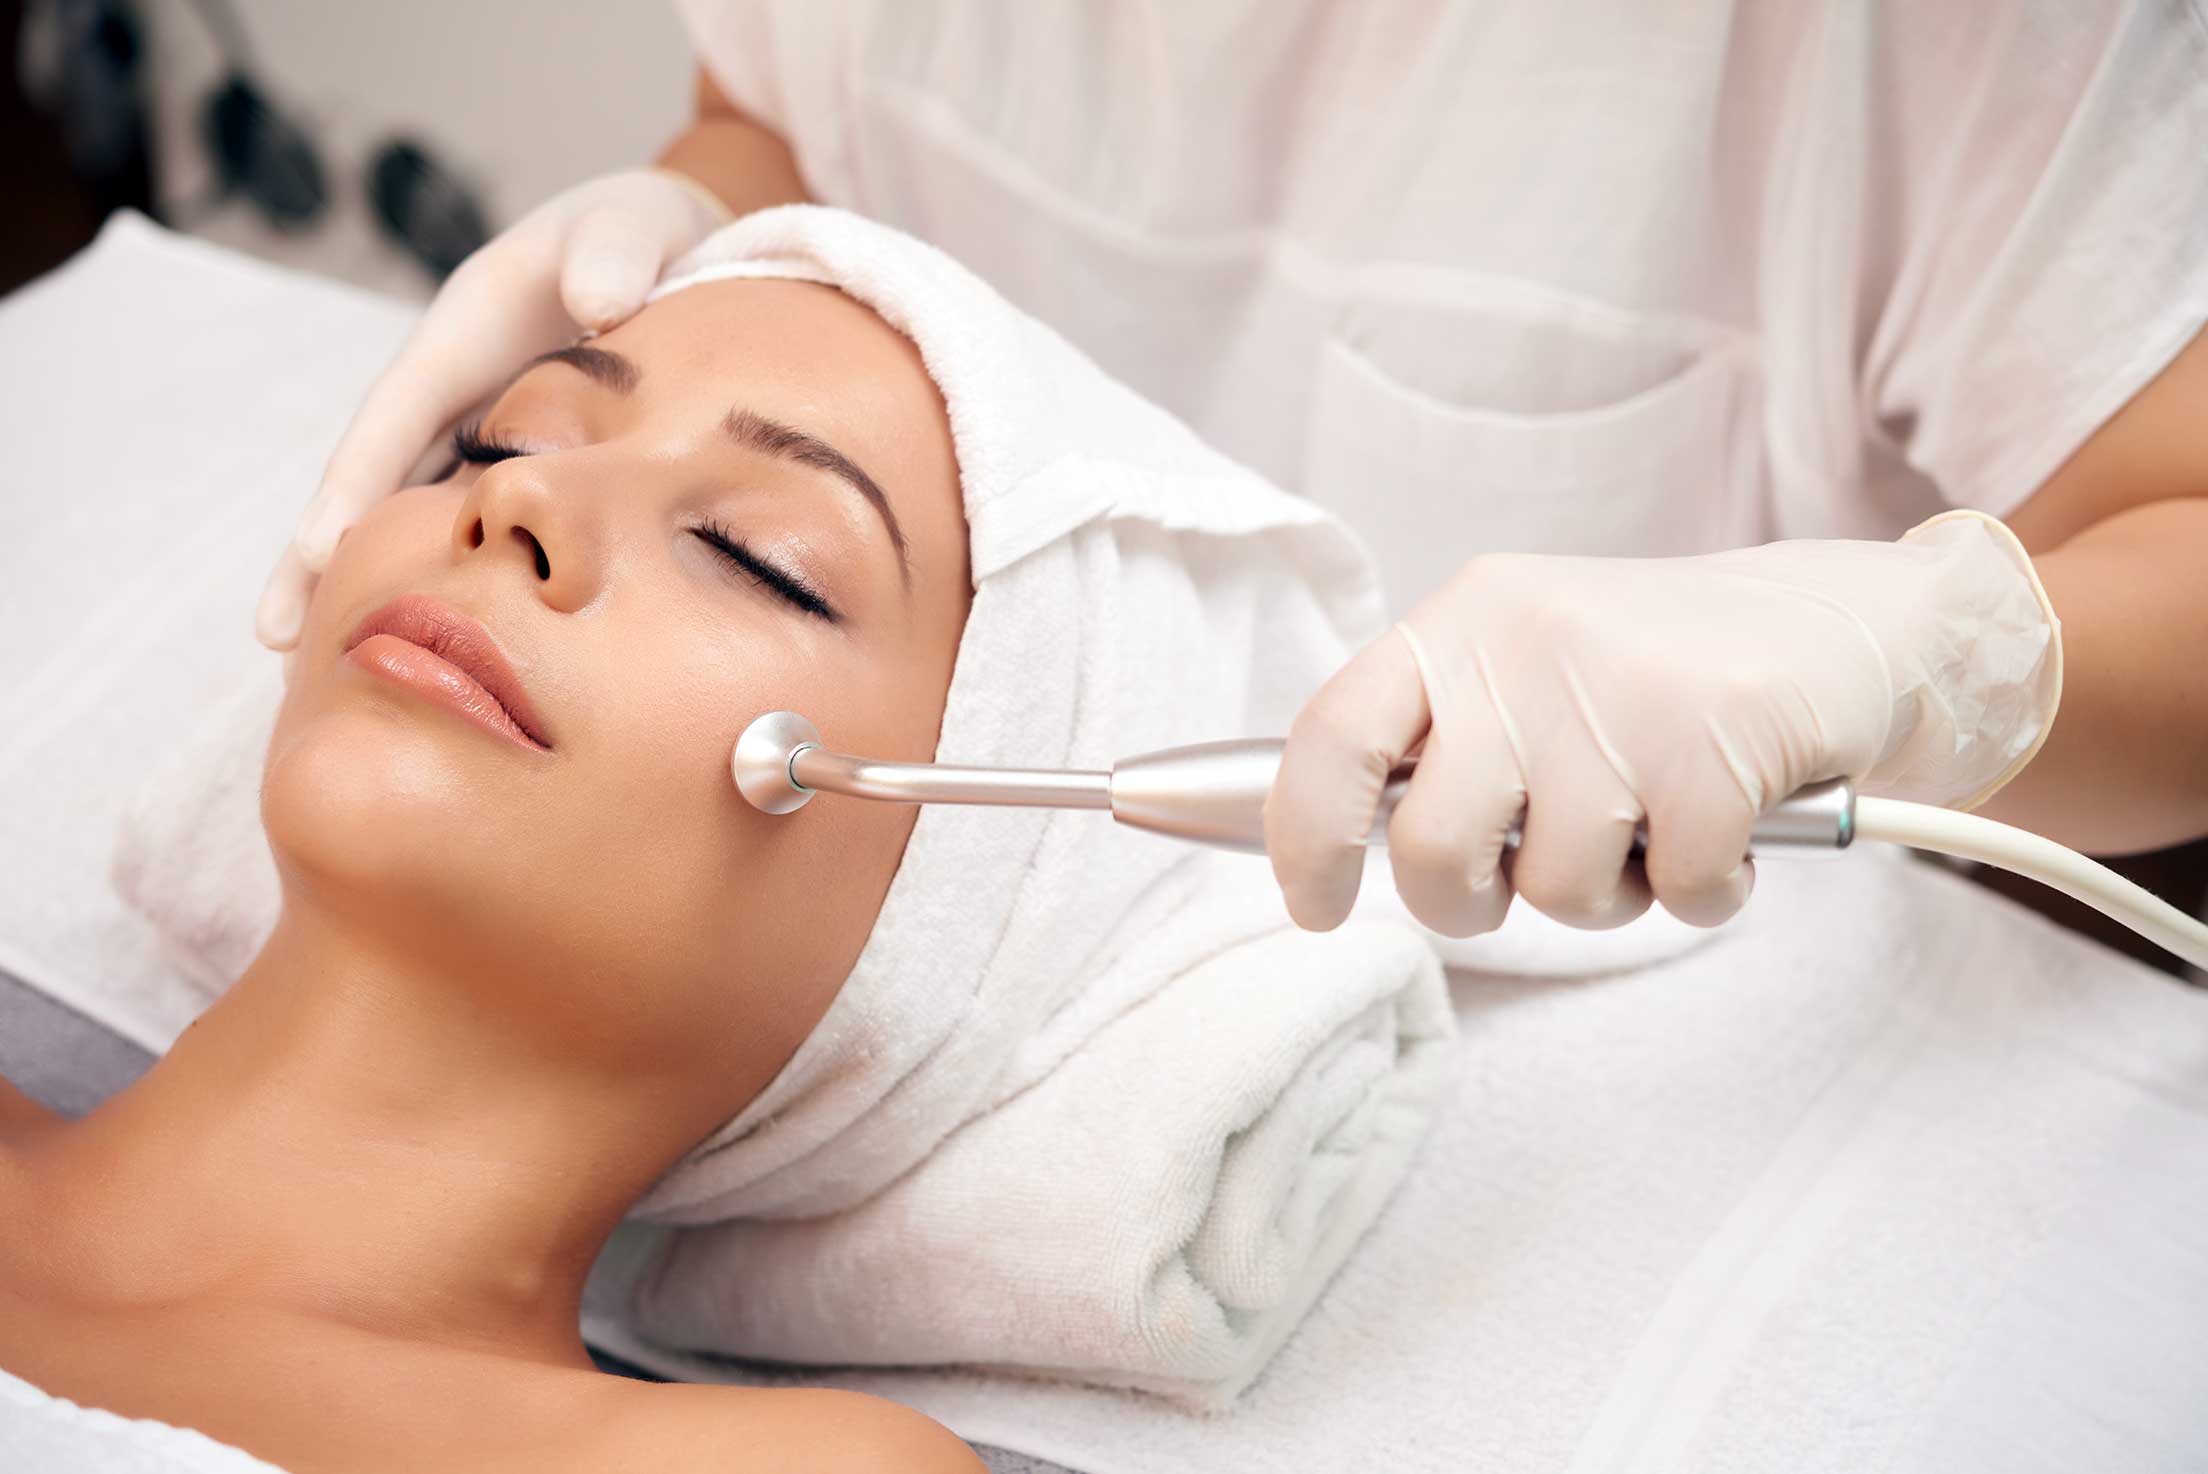
Step 3: Steam
Steam helps to open up your pores, making it easier for subsequent products to penetrate and work effectively. You can either invest in a facial steamer or simply place your face over a bowl of hot water for a few minutes, covering your head with a towel to trap the steam.
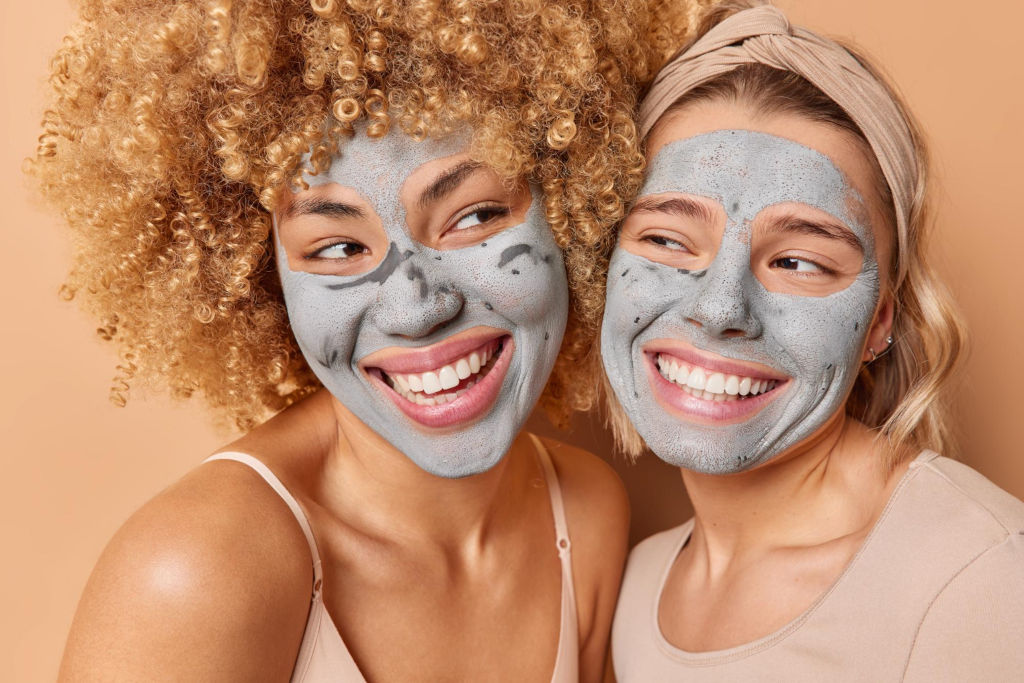
Step 4: Apply a Mask
Choose a mask that aligns with your skincare needs. Apply an even layer, avoiding the delicate eye and lip areas. Relax for the recommended time (usually 10-20 minutes) as the mask works its magic. This is an excellent opportunity to unwind and practice mindfulness.
Step 5: Serum
After removing the mask, apply a serum packed with beneficial ingredients. Gently pat it into your skin, allowing it to fully absorb.
Step 6: Moisturize
Finish your at-home facial with a moisturizer that suits your skin type. This locks in the benefits of the products you’ve applied and keeps your skin hydrated.
Optional Steps: Tools and Techniques
If you have facial tools like a jade roller or gua sha tool, this is the perfect time to incorporate them. These tools can help reduce puffiness, improve circulation, and enhance product absorption. Remember to use gentle, upward motions to avoid tugging on your skin.
Tips for a Successful At-Home Facial:
- Choose products tailored to your skin type and concerns.
- Be consistent with your at-home facials, aiming for once a week or as needed.
- Perform your facial in a clean, quiet space to enhance relaxation.
- Maintain proper hygiene by cleaning your tools after each use.
- Stay hydrated, both during and after your facial, to support skin health.
Conclusion
Unveiling the secrets of at-home facials allows you to enjoy the benefits of spa-worthy skincare in the comfort of your own home. With the right products, tools, and techniques, you can achieve radiant, healthy skin while indulging in a little self-pampering. So, gather your skincare essentials, carve out some me-time, and treat yourself to the ultimate at-home facial experience. Your skin will thank you!